A slow, freezing, or glitchy laptop isn’t just annoying — it might be a sign your system is infected. Viruses, malware, spyware, and ransomware can silently sneak in, steal data, or make your laptop unusable. But don’t worry — you’re not powerless.
In this blog, we’ll show you exactly how to remove viruses from a laptop, step by step, using both free and professional tools. Whether you’re a student, gamer, or professional, this guide will help you regain control and speed.
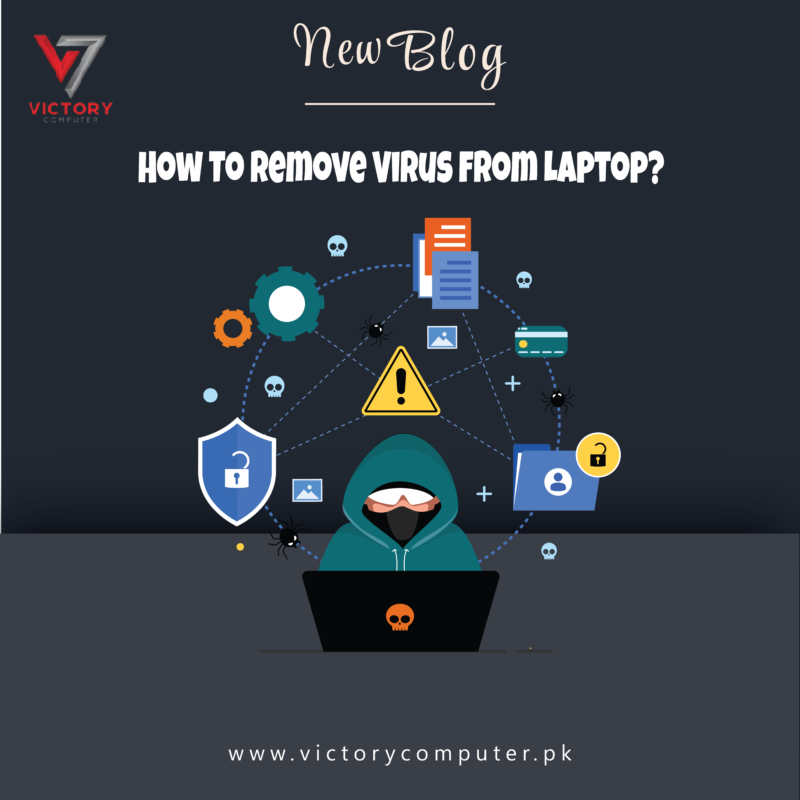
Signs That Your Laptop Has a Virus
Before jumping into solutions, here’s how to identify if your device is actually infected.
Common Symptoms:
- Sudden drop in speed or performance
- Frequent crashes or BSOD (blue screen of death)
- Unwanted pop-ups and ads, even offline
- New programs or icons you didn’t install
- Antivirus automatically turning off
- Browser redirects to strange websites
If you experience any of these, it’s time to take action.
Step 1: Disconnect From the Internet Immediately
As soon as you suspect a virus, disconnect from the internet. This prevents the malware from spreading further or sending out your data.
Turn off Wi-Fi or unplug the ethernet cable.
This isolates your laptop and contains the damage.
Step 2: Enter Safe Mode (Windows Users)
Booting in Safe Mode disables unnecessary startup programs, including most viruses.
Here’s how:
- Restart your laptop
- Press F8 (or Shift + F8 on some models) during boot
- Choose Safe Mode with Networking
Now your system runs with minimal processes, making it easier to remove malware.
Step 3: Run a Full Scan with Windows Defender
Windows comes with a powerful built-in antivirus: Windows Defender (also called Microsoft Defender Antivirus).
Steps:
- Go to Settings > Update & Security > Windows Security
- Click Virus & Threat Protection
- Choose Full Scan and let it complete
This may take 30-60 minutes, depending on the data size.
Step 4: Use Third-Party Antivirus Tools (Free + Paid)
If the built-in tool doesn’t work, try these highly effective antivirus programs:
Recommended Tools:
- Malwarebytes Anti-Malware (Free & Premium)
- Kaspersky Virus Removal Tool
- Bitdefender Antivirus Plus
- AVG Free Antivirus
- ESET Online Scanner
Download from the official websites only to avoid fake clones.
Step 5: Delete Temporary Files and Cache
Even after removing the virus, leftover cache files can trigger reinfection.
How to Clean Up:
- Press Windows + R, type
%temp%, and hit Enter - Delete all files in the folder
- Clear your browser cache and history
You can also use tools like CCleaner to deep-clean your system.
Step 6: Check for Unknown Startup Programs
Malware often adds itself to startup apps, so it relaunches every time you reboot.
Check This:
- Press Ctrl + Shift + Esc to open Task Manager
- Go to Startup tab
- Disable suspicious entries you don’t recognize
If you’re unsure, Google the name before disabling.
Step 7: Restore or Reset Your Laptop (Last Resort)
If nothing works, you can either:
- Use System Restore to roll back to a clean state
- Or Reset This PC (without losing files)
For Reset:
- Go to Settings > Update & Security > Recovery
- Click Get Started under “Reset this PC”
- Choose Keep My Files
Back up your data first just in case.
Bonus: Tips to Stay Virus-Free in the Future
Once your system is clean, follow these tips to keep it safe moving forward:
Security Best Practices:
- Never click unknown links or email attachments
- Keep your antivirus software up to date
- Don’t download cracked software or pirated games
- Use a VPN on public Wi-Fi
- Enable automatic updates in Windows
Final Words – Take Control Before It’s Too Late
Viruses don’t just slow down your laptop — they threaten your privacy, identity, and productivity. But now that you know how to remove viruses from a laptop, you’re equipped to fight back.
- Start with a full scan
- Clean your system
- Stay secure with regular updates
Don’t wait for disaster. Act today — protect your digital world before it crashes.
 Due to fluctuation in dollar/dirham rates, prices are not stable kindly confirm the price before placing the order.